Choosing the right bike size is crucial for comfort, performance, and safety. Whether you're a seasoned cyclist or a beginner, understanding bike sizing can make a significant difference in your riding experience. This guide will walk you through the key steps to finding the perfect bike size, covering everything from road bikes to mountain bikes.
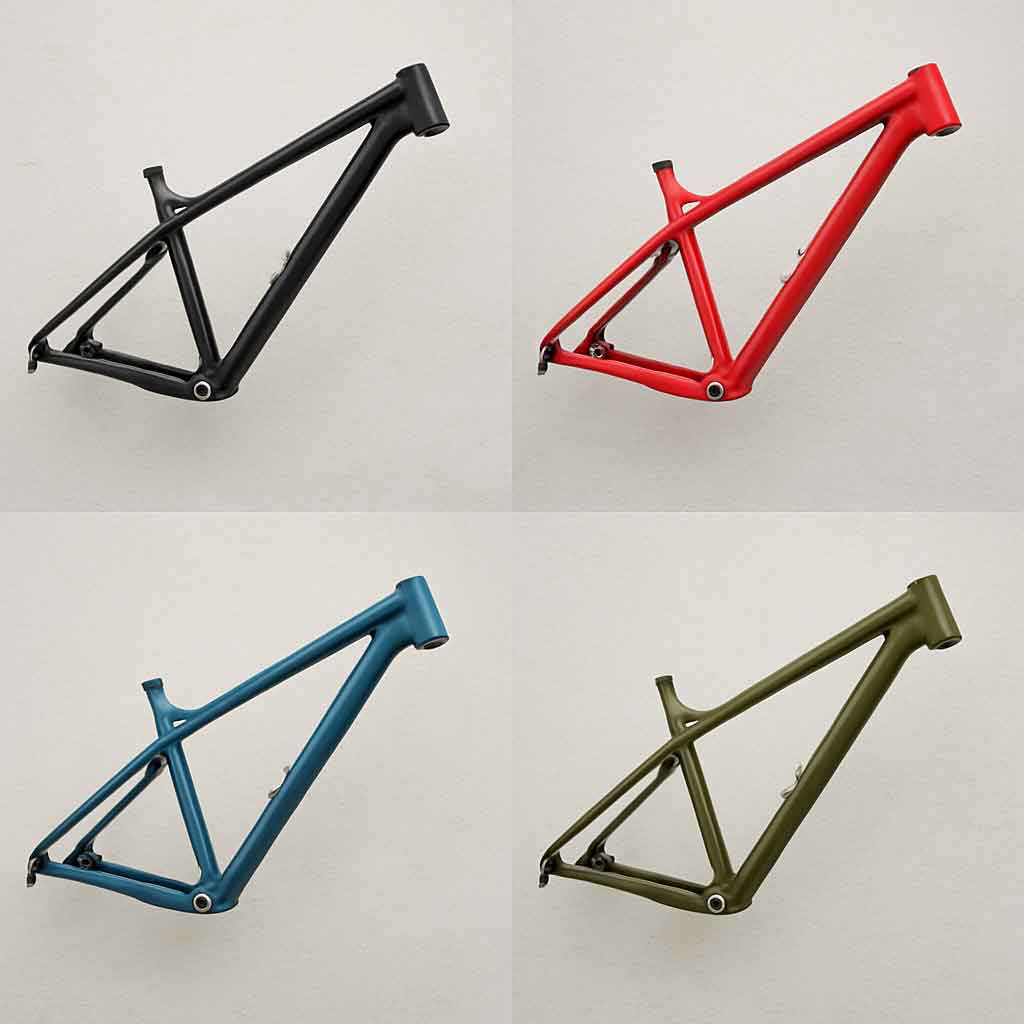
Understanding bike frame sizes is the foundational step in selecting the right bike. The size of the frame significantly impacts the bike's handling and the rider's comfort, making it an essential consideration for any cyclist.
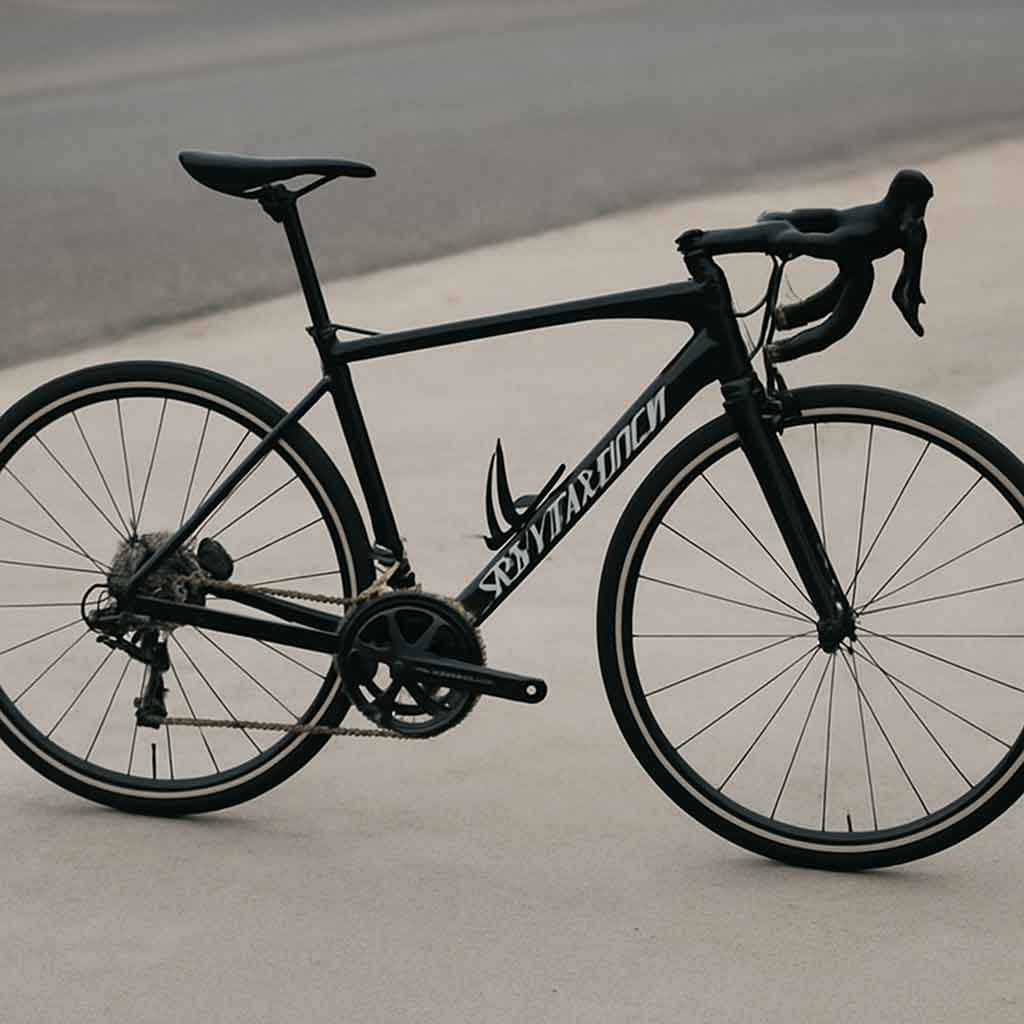
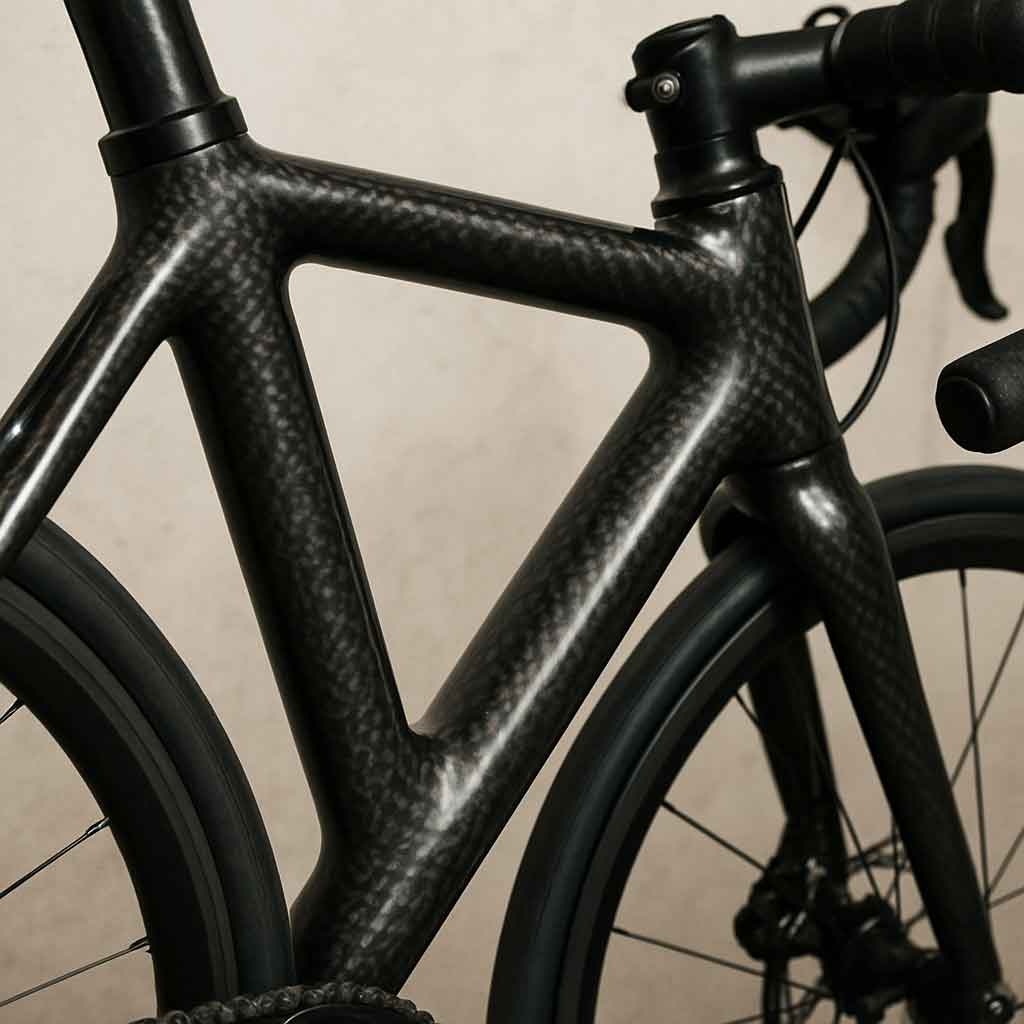
A bike frame is the main structure of a bicycle, onto which wheels, handlebars, and other components are mounted. It typically consists of a top tube, seat tube, down tube, and head tube. Each of these parts contributes to the overall geometry of the bike. The frame determines the bike's strength and stability, which are crucial for both casual riders and competitive cyclists.
Bike frame sizes are typically measured in centimeters or inches, depending on the manufacturer's location and target market. The correct size depends on your height and the type of bike you are interested in. To measure the frame size, focus on the seat tube, which runs from the seat to the bottom bracket (the part of the frame where the pedals attach).
- Standover Height: Stand over the bike with your feet flat on the ground. There should be a small clearance, about 1 to 2 inches, between you and the top tube. This ensures you can comfortably dismount the bike.
- Seat Tube Length: Use a tape measure to measure from the center of the bottom bracket to the top of the seat tube. This measurement will help you determine the bike frame size, which is often listed in the product specifications.
- Importance of Correct Measurement: Ensuring the correct measurement is crucial for comfort and safety. A frame that is too large or too small can lead to discomfort and a higher risk of injury.
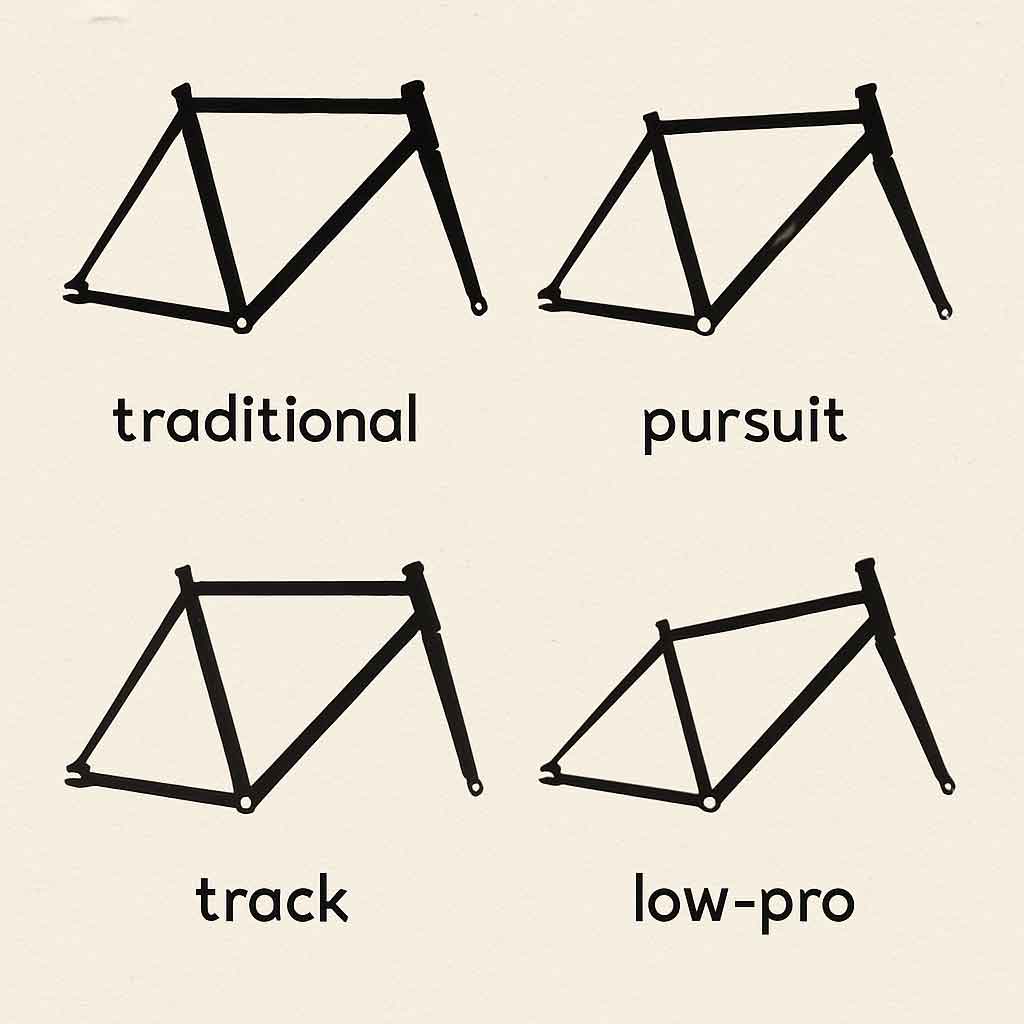
Frame geometry plays a pivotal role in how a bike handles and feels. It's not just about size; it's about the angles and lengths that define a bike's character. Different types of bikes have different geometries suited for specific purposes, such as speed, comfort, or stability. Understanding the subtleties of frame geometry can help you choose a bike that not only fits well but also aligns with your riding style and objectives.
Measuring the bike frame size accurately is essential to ensure a comfortable and efficient ride. This process is straightforward but requires attention to detail.
The measurement process involves several steps to ensure accuracy.
- Initial Setup: Position the bike on a flat surface and ensure it is stable. This provides a consistent baseline for measurement.
- Measuring Equipment: Use a reliable tape measure or a specially designed bike measurement tool for accuracy. These tools help you get precise measurements without guesswork.
- Step-by-step Measurement: Measure the seat tube length from the center of the bottom bracket to the top of the seat tube. Record this measurement as it directly correlates to the frame size.
Standover height is the distance between the top tube and the ground. It is a critical measurement, especially for mountain bikes, where terrain variations can affect ride safety.
- Safety and Comfort: Ensuring proper standover height allows for quick dismounting in emergencies and adds to overall riding comfort.
- Variations by Bike Type: Different bikes may have varying standover height requirements. For instance, road bikes often have higher standover heights compared to mountain bikes, which require more clearance for rugged terrain.
- Customizing Fit: Sometimes, personal preference or specific use cases may necessitate slight adjustments to the standard standover height guidelines.
Professional tools can enhance the precision of your frame size measurement.
- Bike Fit Systems: Systems like Retül or Guru offer dynamic bike fitting services that take into account your unique body dimensions and riding style.
- 3D Motion Capture: Advanced systems use 3D motion capture technology to analyze your pedaling and posture, ensuring an ideal fit.
- Benefits of Professional Fitting: Investing in a professional fitting can optimize your performance and comfort, especially for competitive cyclists or those with specific physical considerations.
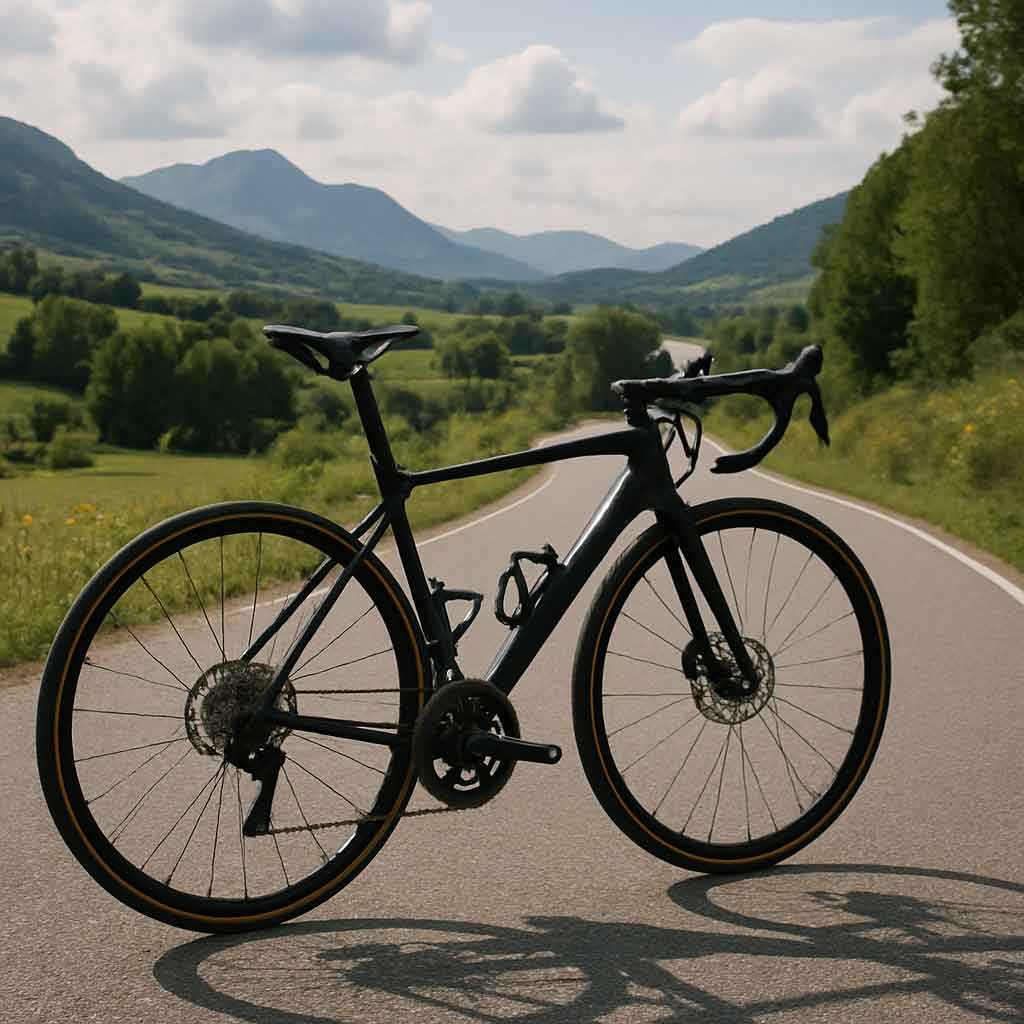
A road bike height chart is a valuable tool for selecting the right frame size. Road bikes, designed for speed and efficiency on paved surfaces, require precise sizing to ensure optimal performance.
Road bike sizing can be more nuanced than other types of bikes due to the aggressive riding positions often adopted.
- Size Recommendations by Height: Road bike height charts match your height to the recommended frame size. For instance, someone under 5'2" (157 cm) may require a 47-49 cm frame, while someone 6'3" and taller might need a 61 cm frame or above.
- Frame Size Flexibility: While charts provide a good starting point, personal preference and riding style can influence the final decision. Some riders may prefer a slightly larger or smaller frame based on their comfort and performance needs.
- Impact of Riding Style: Aggressive riders may prefer smaller frames for better aerodynamics, while long-distance riders might opt for larger frames for added comfort.
Correct sizing is critical for road biking, where efficiency and aerodynamics play significant roles.
- Performance Enhancement: A correctly sized bike can enhance performance by allowing more efficient power transfer and better aerodynamics.
- Comfort and Endurance: Proper sizing reduces the risk of discomfort and injury, allowing for longer rides with less fatigue.
- Adjustability and Customization: Many road bikes offer adjustable components, such as stems and saddles, to fine-tune the fit further.
Using a height chart involves matching your height to the recommended frame size.
- Consulting Multiple Sources: Different manufacturers may have slightly different sizing guidelines. It's wise to consult multiple charts and consider the specific brand's recommendations.
- Trial and Error: Whenever possible, test ride different sizes to see which feels most comfortable and aligns with your riding style.
- Seeking Expert Advice: Consulting with bike shop staff or experienced cyclists can provide valuable insights and help fine-tune your decision.
Determining the right bicycle size is a multi-step process that considers several factors beyond simple measurements.
When determining the right bicycle size, consider the following factors:
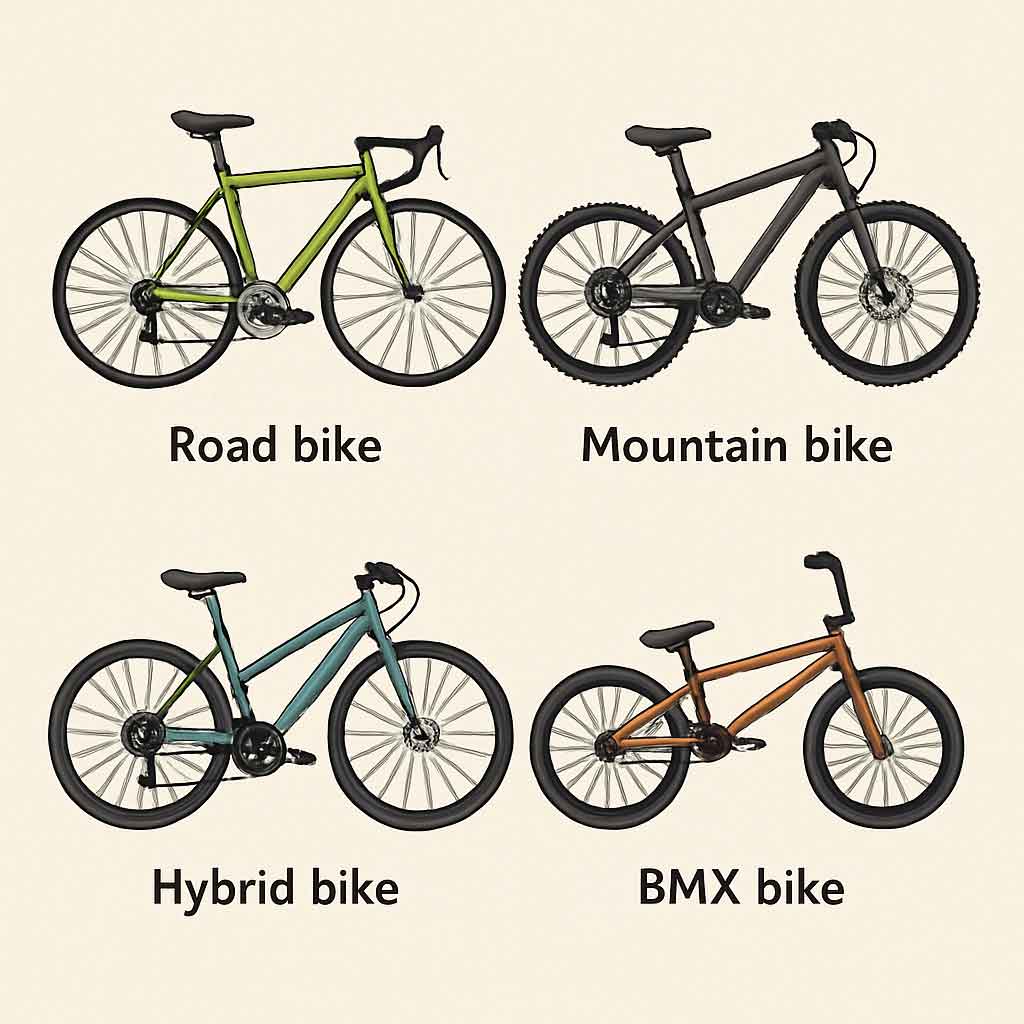
- Riding Style: Different riding styles require different bike sizes. For instance, a road bike for racing will have a different fit compared to a mountain bike for trail riding. The intended use of the bike significantly influences the ideal size.
- Comfort: Ensure that the bike feels comfortable when you ride. You should be able to reach the handlebars and pedals without straining. Comfort is crucial for long-term enjoyment and can prevent injuries.
- Flexibility: Your level of flexibility can affect your ideal bike size. More flexible riders may prefer a more aggressive riding position. Assessing your flexibility can help determine how stretched out you can comfortably be while riding.
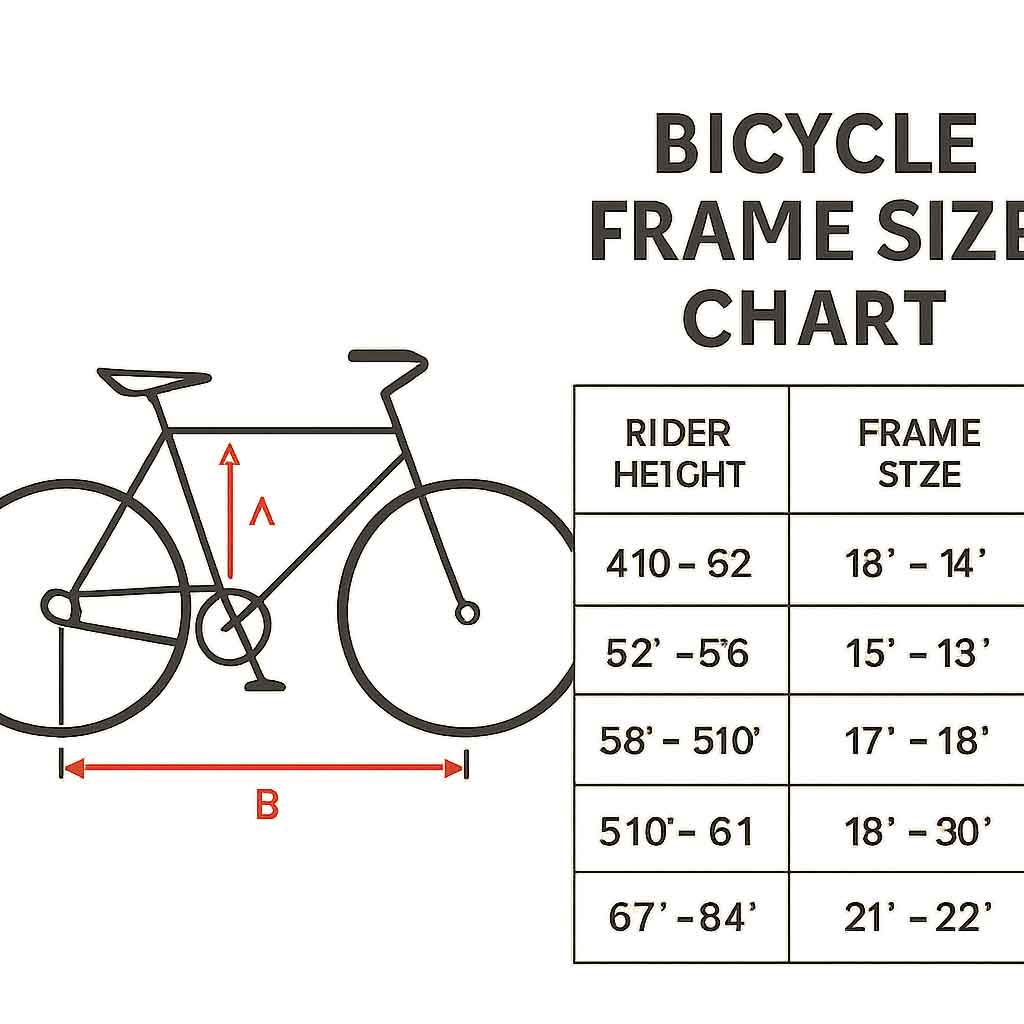
A bicycle size chart can provide a quick reference for finding the right bike size based on your height.
- Manufacturer Variations: Many manufacturers offer their size charts, which can vary slightly, so it's important to check the specific chart for the brand you're interested in. This ensures compatibility with the bike's design philosophy.
- Height and Inseam Measurements: Size charts typically require your height and inseam measurements. These dimensions help identify the appropriate frame size for your body type.
- Adjusting for Preferences: Size charts offer a baseline, but personal preferences regarding riding position and comfort may necessitate adjustments.
To determine what size bicycle you need, follow these steps:
- Measure Your Inseam: Stand with your feet about 6 inches apart and measure the distance from the ground to your crotch. This measurement is crucial for matching to size charts.
- Use the Bicycle Size Chart: Match your inseam measurement to the size chart provided by the manufacturer to find the recommended frame size. These charts are designed to align body dimensions with frame geometry.
- Test and Validate: Whenever possible, test ride the recommended size. This helps validate the chart's recommendation and ensures the bike feels right for you.
Measuring a road bike frame size involves the same basic principles as other bikes, with some additional considerations specific to road biking.
For road bikes, certain measurements are particularly important to ensure an ideal fit.
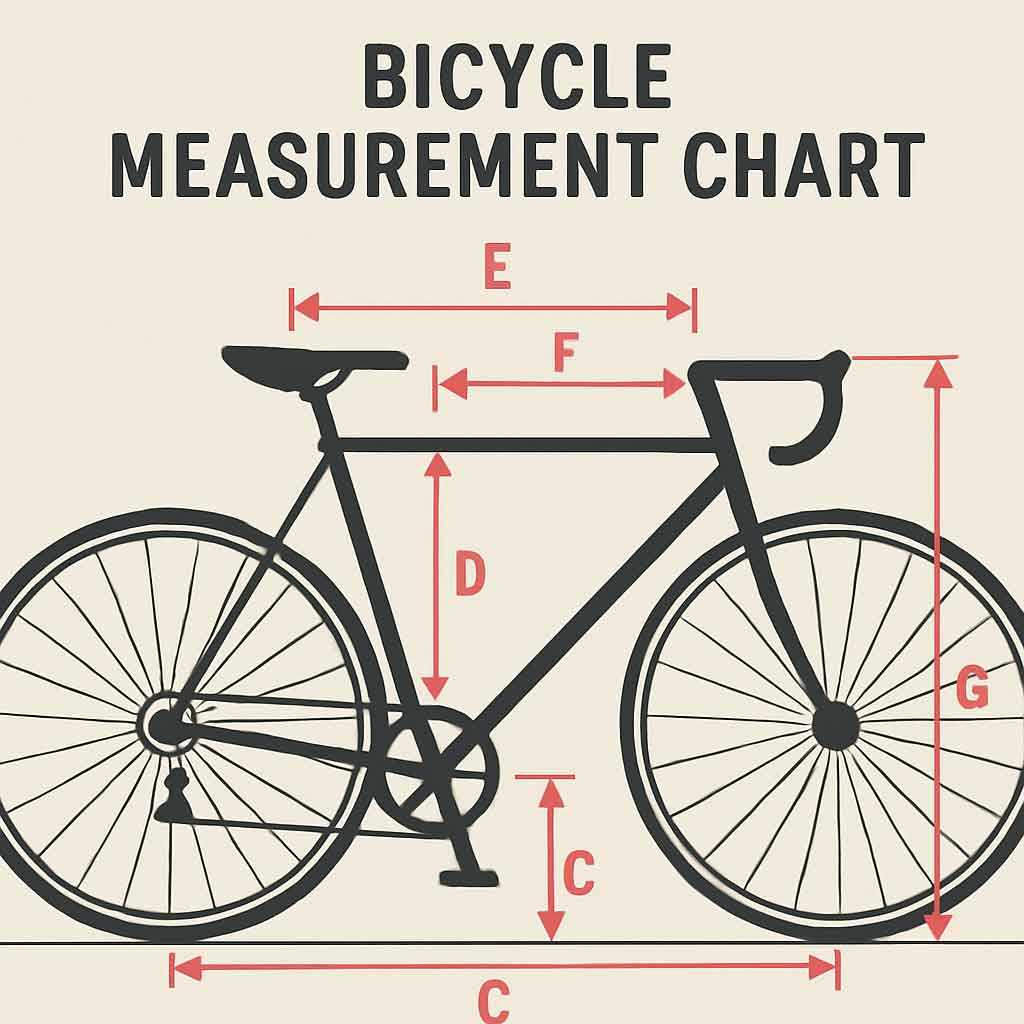
- Effective Top Tube Length: Consider the top tube length, which determines how stretched out you will be when riding. It's a crucial factor for comfort and efficiency.
- Reach and Stack: These measurements describe the horizontal and vertical distances from the bottom bracket to the top of the head tube. They help determine the bike's fit and comfort, influencing handling and aerodynamics.
- Seat Tube and Head Tube Angles: These angles affect the bike's responsiveness and comfort. More aggressive angles can lead to a more responsive ride, while relaxed angles may enhance comfort.
Accurate measurement techniques ensure the selected frame size aligns with your needs.
- Using a Level: A level can help ensure that measurements are taken accurately, especially when assessing top tube length and angles.
- Professional Fitting Services: Consider professional fitting services that use advanced tools and techniques to ensure an optimal fit. These services often provide detailed reports on bike geometry and recommended adjustments.
- DIY Measurement Tips: For those measuring at home, ensure the bike is on a flat surface and use multiple points of reference to verify accuracy.
Avoiding common sizing mistakes can enhance your biking experience.
- Ignoring Reach and Stack: Focusing solely on seat tube length without considering reach and stack can lead to discomfort and inefficient riding positions.
- Overlooking Personal Comfort: While charts and measurements provide guidance, personal comfort should always be the final arbiter. A bike that feels wrong is unlikely to be ridden regularly.
- Neglecting Adjustability: Many elements of a road bike can be adjusted, including the saddle and handlebars. Don't overlook these adjustments, which can fine-tune your ride for comfort and performance.
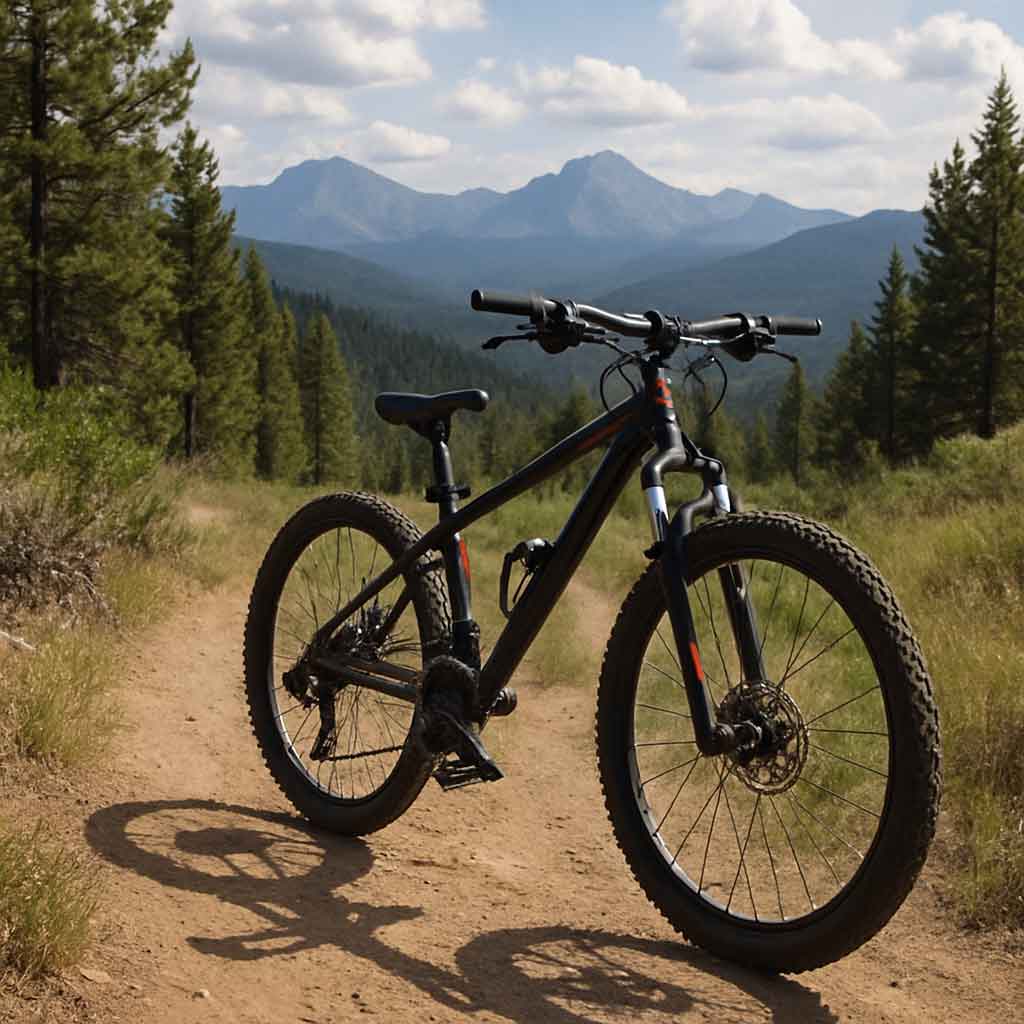
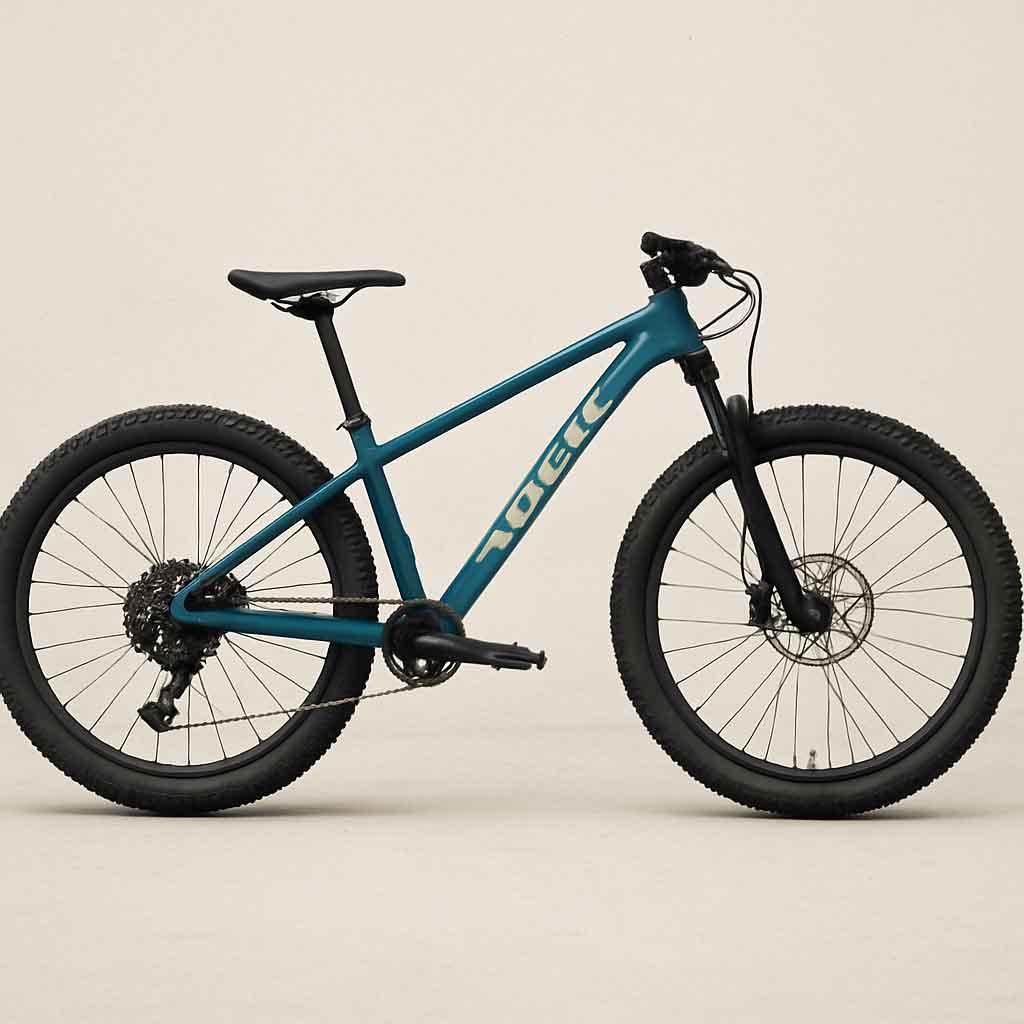
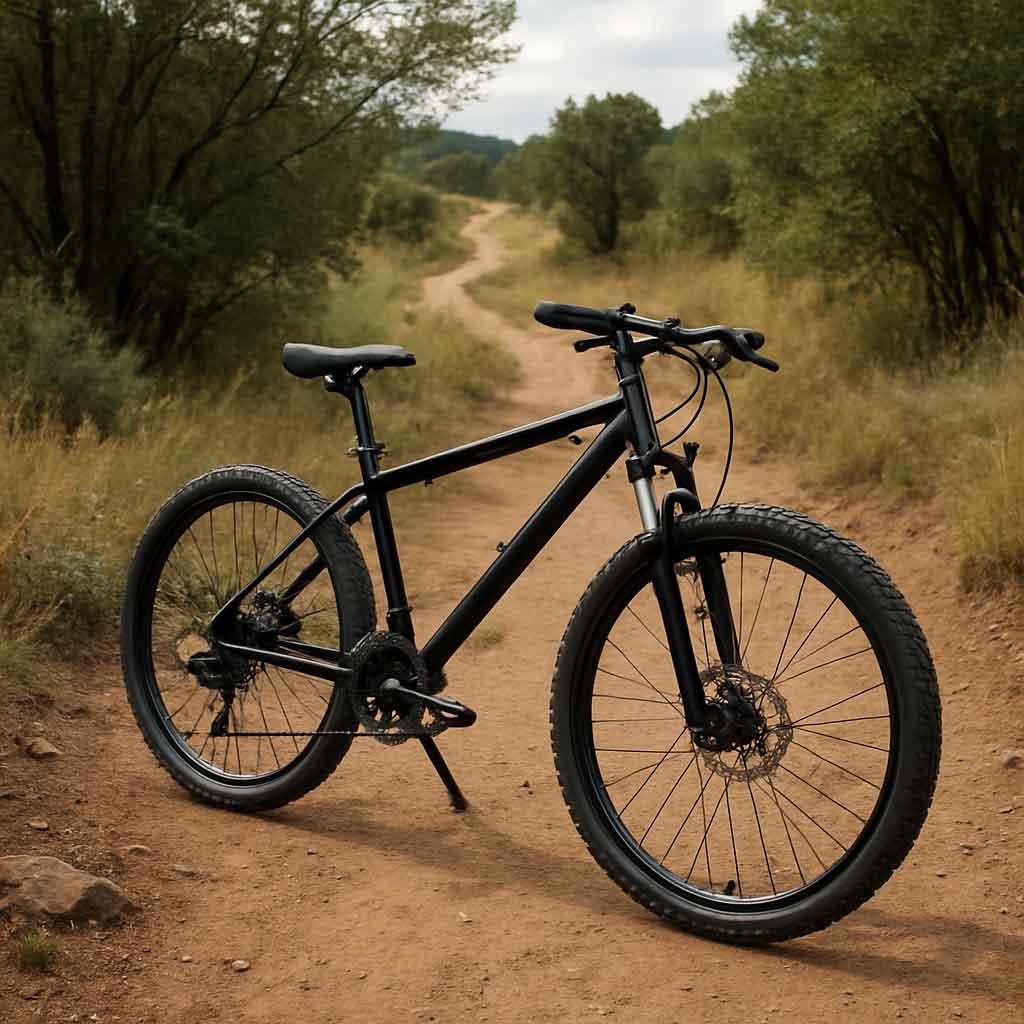
Mountain bikes are designed for off-road cycling and require a different sizing approach due to their unique geometry.
Mountain bike sizing can differ significantly from road bikes due to the varied terrains they are designed to handle.
- Frame Size by Height: A general guide suggests XS (13-14 inches) for those under 5'3" (160 cm), S (15-16 inches) for 5'3" to 5'7" (160-170 cm), M (17-18 inches) for 5'7" to 5'11" (170-180 cm), L (19-20 inches) for 5'11" to 6'2" (180-188 cm), and XL (21+ inches) for those over 6'2" (188 cm+).
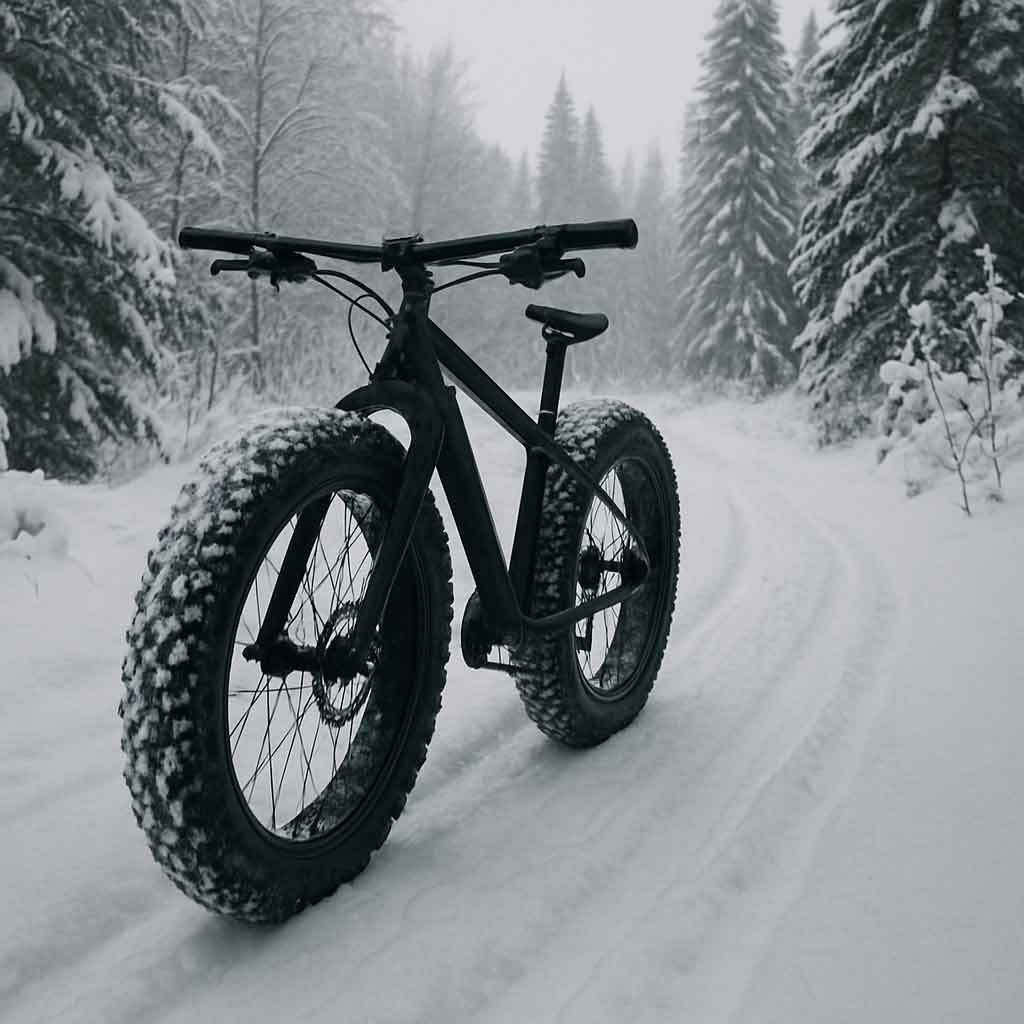
- Terrain Considerations: Mountain bikes must accommodate a range of terrains, so the sizing often allows for more clearance and maneuverability.
- Suspension and Geometry: The type of suspension and frame geometry can also impact sizing, as they affect how the bike handles rough terrain.
Suspension plays a critical role in mountain biking, affecting both comfort and control.
- Front vs. Full Suspension: Front suspension (hardtail) bikes offer simplicity and efficiency, while full suspension bikes provide better control and comfort on rough terrain.
- Adjusting Suspension for Fit: Properly adjusting the suspension to match your weight and riding style can significantly enhance comfort and performance.
- Impact on Sizing: The type of suspension can influence the ideal frame size, as full suspension bikes often have different geometries compared to hardtails.
Mountain bike sizing presents unique challenges due to the diverse conditions encountered off-road.
- Balance Between Clearance and Control: Ensuring adequate clearance without compromising control can be tricky. Riders often need to balance these factors based on their typical riding conditions.
- Adapting to Terrain: Different terrains may require adjustments in bike setup and size preference. For example, technical trails may benefit from a smaller frame for better maneuverability.
- Trial and Error: Given the variability in mountain biking, trial and error with different sizes and setups can help find the perfect fit for your style and environment.
Selecting the right bike size is an essential step in ensuring a comfortable and enjoyable cycling experience. By following these guidelines and using available resources, you'll be well-equipped to find the perfect bike size for your needs.
Test rides are invaluable in the bike selection process.
- Feel and Feedback: Test rides provide immediate feedback on how a bike feels, helping you assess comfort and fit in real-world conditions.
- Comparison Across Models: Trying different sizes and models allows you to compare and contrast, ensuring you choose the best option for your needs.
- Immediate Adjustments: During a test ride, you can make immediate adjustments to saddle height and handlebar position, allowing for a more precise fit.
Adjustments can be made to fine-tune a bike's fit.
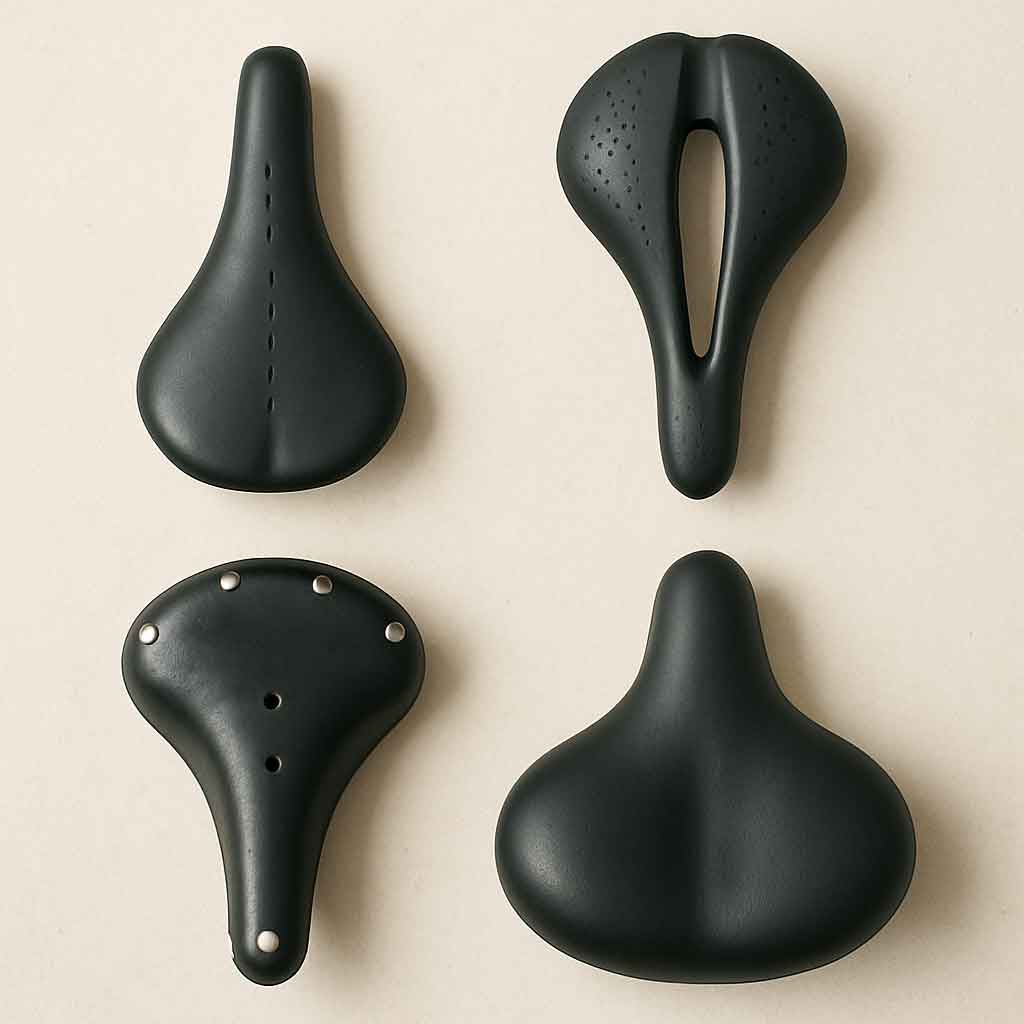
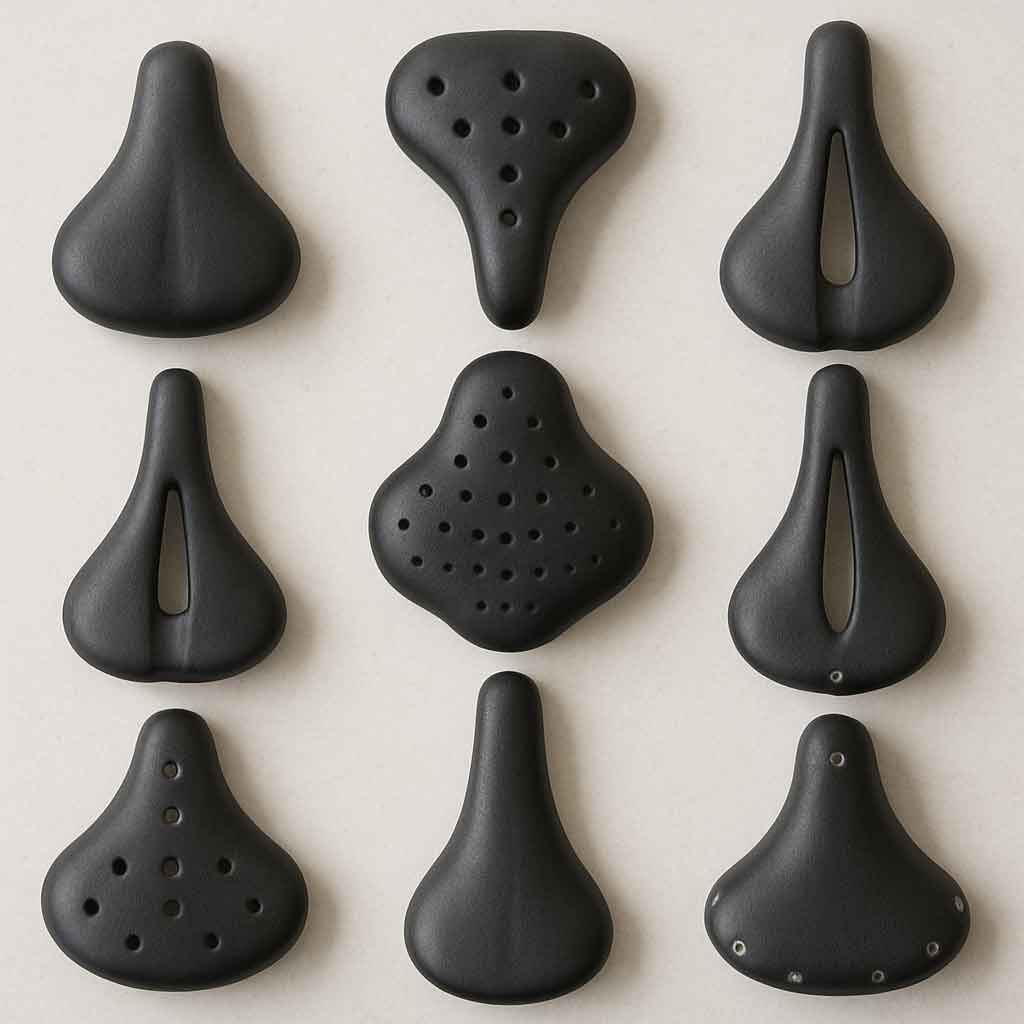
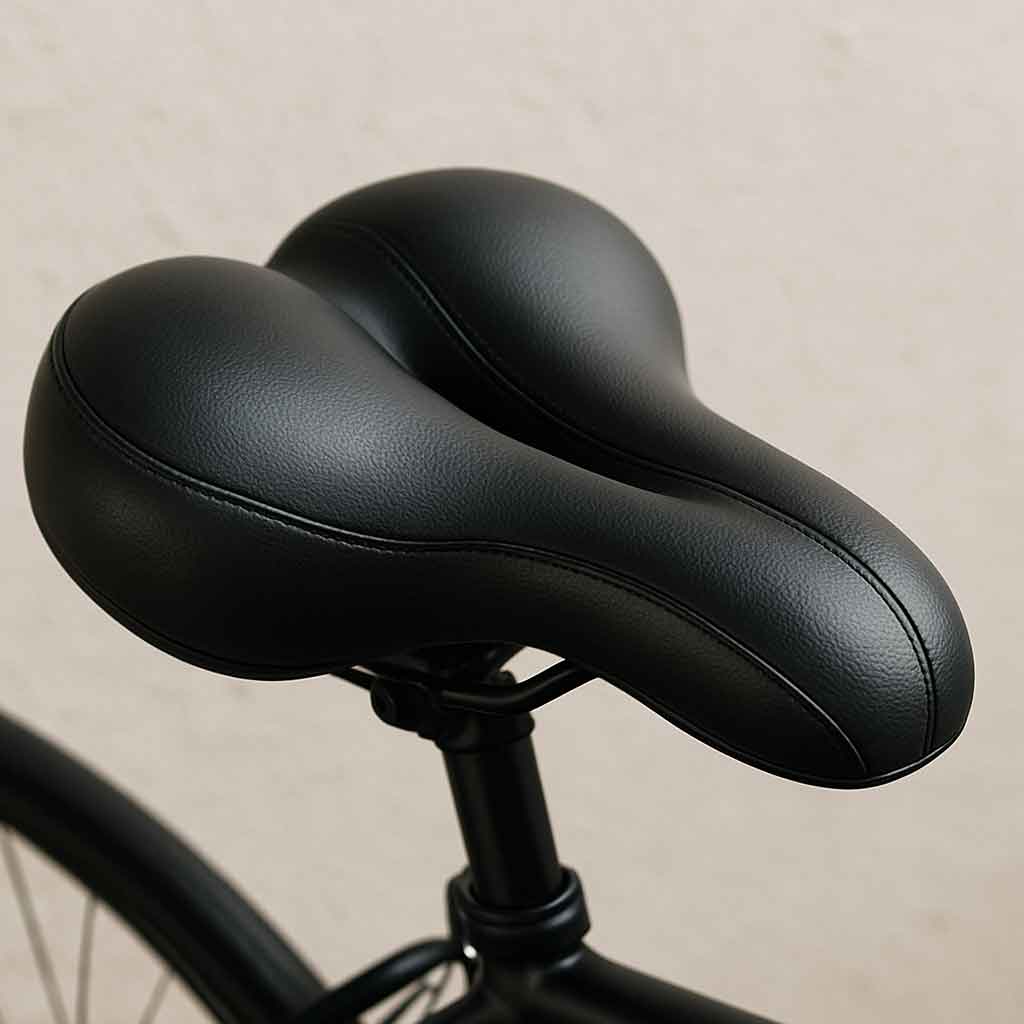
- Saddle Height and Position: Adjusting the saddle can significantly impact comfort and pedaling efficiency. Ensure it's set to a height where your knees are slightly bent at the bottom of the pedal stroke.
- Handlebar Position: Handlebar adjustments can improve reach and reduce strain on your back and shoulders. Consider the height and angle to find the most comfortable position.
- Professional Bike Fit Services: For a comprehensive fit, consider professional bike fit services that can optimize your bike's setup for your body and riding style.
Expert advice can be invaluable in the bike selection process.
- Bike Shop Staff: Experienced bike shop staff can offer insights and recommendations based on your needs and preferences. They can also assist with initial adjustments and provide maintenance tips.
- Experienced Cyclists: Fellow cyclists with more experience can share their knowledge, offering tips and tricks for selecting and setting up a bike.
- Online Resources and Communities: Joining online communities and forums can provide additional perspectives and advice from cyclists around the world.
Choosing the right bike size is a critical step in ensuring a comfortable and enjoyable cycling experience. By following these guidelines and using available resources, you'll be well-equipped to find the perfect bike size for your needs. Happy cycling!